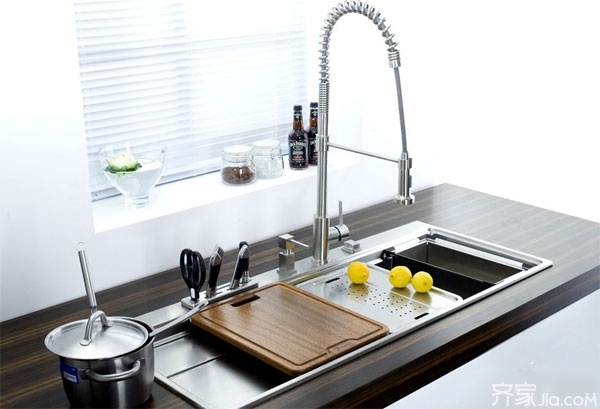
Leakage of faucets is a long-term trouble encountered in home life. If it is not resolved in time, it is likely to cause “swamping†and bring a lot of inconvenience to life. Especially when you are busy in front of the stove and encounter leaks in the kitchen faucet, it will directly affect your entire cooking mood and living atmosphere. Therefore, it is very important to master the leakage repair of the kitchen faucet, so long as there are tools in hand, they can solve the problem by themselves. Below, Xiao Bian will introduce to you about how the faucet leaks, the leakage of kitchen faucets and other issues.
First, how to do the tap leakingLeaking a faucet will result in a huge waste of resources and inconvenience in life. In fact, the structure of the faucet is very simple. Generally speaking, if the faucet leaks, it can be solved by replacing the components such as the axial washer or the triangular seal gasket inside the faucet.
If the faucet joint is leaking, the main reason is that the sealing tape of the fixing screw of the faucet is damaged. Therefore, as long as you use a wrench to remove the tap, re-roll the new sealing tape at the place where the screw is fixed.

The faucet is generally used with a press-type faucet. Next, a press-type faucet is taken as an example to briefly describe the leakage repair method for a kitchen faucet. First prepare the necessary tools, pliers, screwdrivers, penetrant lubricants, adjustable wrenches, and pads to be replaced.
ⶠClose inlet valve
Remove the small screw above or behind the faucet handle to remove the handle that is attached to the faucet body. Some screws are hidden under metal buttons, plastic buttons, or plastic tabs that snap into or screw into the handles. Just open the button and you will see the handle screw on the top. If necessary, use a penetrating oil such as WD-40 to loosen the screws.
â·Remove the handle
Remove the packing nut using a large-scale pliers or adjustable wrench, taking care not to leave scratches on the metal. Rotate the spool or shaft in the same direction that you turned it when you turned on the tap to unscrew them. Check the parts of the faucet.
⸠Remove the screws securing the washers
If necessary, use penetrating oil to loosen the screws. Check the screws and valve plugs and replace them if damaged.

æ¢ Replace the old gasket with a completely new one.
New washers that almost perfectly match the old ones will generally make the tap no longer dripping. You also notice whether the old washer is beveled or flat and replaced with the same new washer. Gaskets designed for cold water only expand rapidly when there is hot water passing through it, blocking the outlet and slowing the flow of hot water. Some washers work in both hot and cold water, but you have to make sure that the gasket you bought for replacement is exactly the same as the original one.
⺠Install the faucet assembly
Secure the new gasket to the valve plug and reinstall the components in the faucet. Rotate the valve clockwise. After the valve plug is in place, reinstall the packing nut. Be careful not to let the wrench scratch the metal.
â»Drainage detection
Reinstall the handle and put the button or disc back. Re-open the water supply and check for leaks.

Xiao Bian reminds us that in daily life, we must use the faucet correctly. When closing the faucet, do not turn the faucet too tight. This will maintain the life span of the faucet for 7-8 years. However, the hot water part of the kitchen faucet It is easy to increase the loss of the faucet because of changes in the eyes. Therefore, Xiao Bian suggested that in order to prevent the faucet from leaking, the hot and cold rubber pads on the kitchen faucet should be replaced regularly.